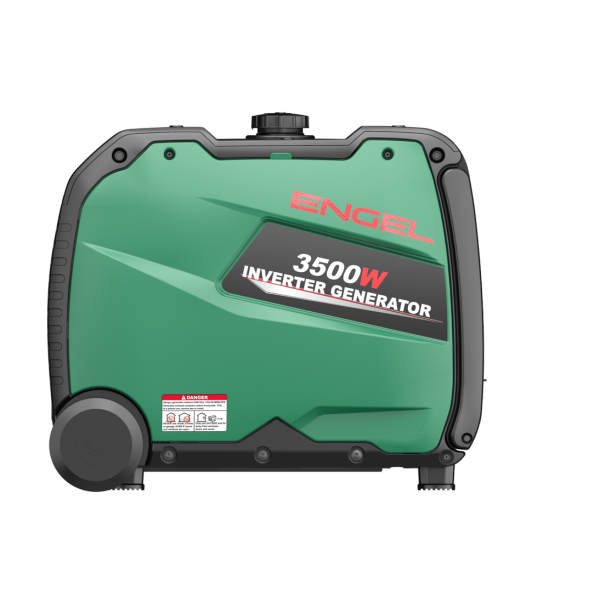
Ready for a generator oil change? To keep your generator running smoothly for longer, you need to do maintenance. That means replacing the old oil and checking the filter. The new oil will lubricate crucial parts of your engine better and make the starting process easier, while the filter will ensure your engine runs well.
It's quick and easy to do - follow the steps below and you'll do a full generator oil change and filter check in just ten minutes!
How often should you change the oil? It depends on the generator model and your usage.
Pro Tip: Always check your manual before doing any regular maintenance on your generator. Specific steps on a generator oil change on your model will be found in the manual. This will tell you how often you will need to change your oil and oil filter as well as the recommended oil for the engine.
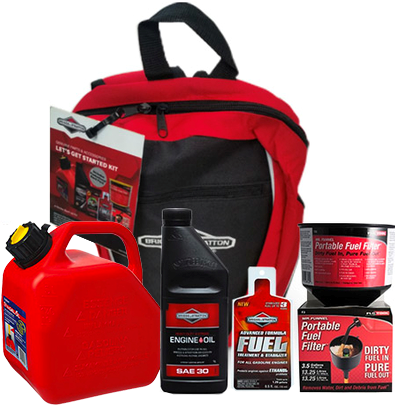
What you need for a generator oil change and filter change:
-
Philips head screw driver
-
Clean rag
-
Tray e.g. paint tray
-
Replacement oil - Refer to the manual. You can buy generic good-quality oil from your hardware store or auto shop.
-
Replacement filter - As above.
Follow these easy steps:
-
1. Find the right location
Changing the oil is easy but it can be messy! Think about where you will do your generator oil change that's easy to clean up and is flat, level ground.
2. Warm up the old oil
Start up your generator for five minutes on eco mode to warm the oil inside. This helps loosen the oil so it drains easier. After a few minutes, turn the engine off.
3. Turn off the petrol
This stops petrol from leaking out when you tilt the generator to drain the oil.
4. Drain the oil
Use the screwdriver to remove the cover, then find the oil port. Place the tray underneath the port before you undo it. Lift or tilt the generator so the oil drains into the tray. If you need, put the generator on blocks so you can slide the tray underneath.
If you decide to life the machine, ask someone to help. Keep your rag on standby to clean up any excess oil.
5. Change the generator oil filter
All stationary and some portable generators will also have an oil filter. Just like changing oil in the car, replacing the oil and filter at the same time can prolong the life of your generator, so it's ready when you need it most.
Take the filter off, add a light coating of lube to the new filter to make a better seal, then screw it in by hand.
6. Replace the oil
A 1 litre bottle should be enough oil for your generator, but check the manual.
Use a funnel or squeeze bottle to refill the oil to the fill level.
Replace the oil cap, clean up any excess with the rag and replace the cover.
7. Run the generator
Run the generator for 10-20 minutes with the new oil to ensure it's primed and ready to go.
That's it - your generator is ready to run. Now all you need to do is add a note in your calendar so you don't miss the next oil change!
Looking for other generator maintenance tips? Check out our dedicated guide here or watch Pat Callinan's tips below!
-
DISCLAIMER* Please note, this advice is general in nature and we strongly recommend consulting the product manual and where relevant, a professional installer.