About Us
 Testimonials
 Promotions
 Buyer's Guides
 Delivery
 Warranty
 FAQ
FAQ Buy Now, Pay Later
 Blog
Blog Contact Us
 Home
Home


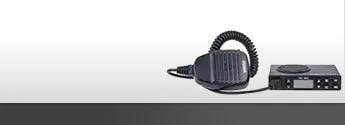


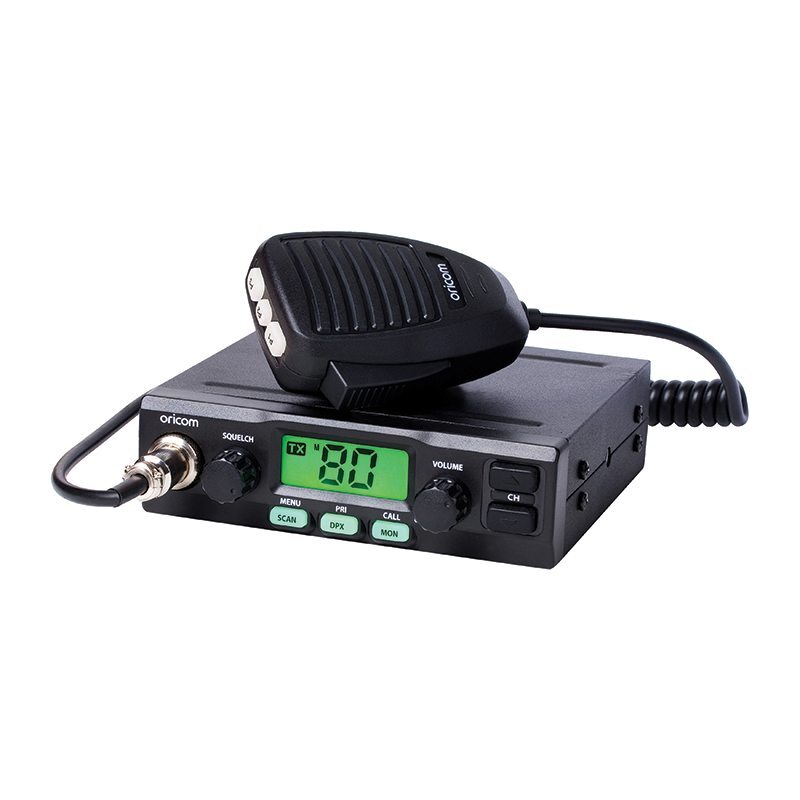
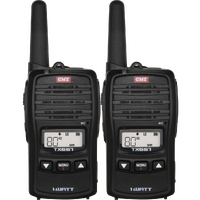
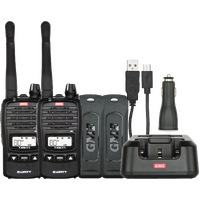
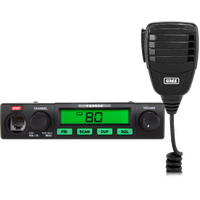
Oricom UHF028 Compact 5W UHF CB Radio
Save $79 (22%) off RRP of $361
CALCULATE SHIPPING:
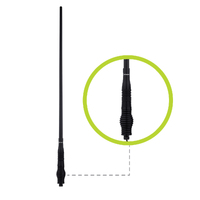
Accessories
.png)

Learn More»
Product Description
Oricom UHF028 Compact 5W UHF CB Radio, 5 year warranty. The UHF028 UHF CB Radio utilises rugged construction and a compact size, to ensure that this radio is the ideal communications solution inside of any 4WD, tractor or construction vehicle. The typically high quality Oricom finish ensures you will hear everything clearly, and the heavy-duty microphone plug and included 5-year warranty ensure this model is excellent value for money.
Features:
- 80 Channels - 75 voice channels.
- Compact & portable.
- Heavy duty microphone plug.
- 38 CTCSS.
- Duplex (range extender).
- Open/Instant/repeater and priority scanning.
- Rotary, squelch & volume control.
- Busy channel lock.
- Call tones.
- 3.5mm external speaker jack.
- 5 year warranty.
- Repeater scan.
- Priority scan.
- Heavy duty microphone plug.


Specifications
SKU UHF028
Brand Oricom
GTIN 9338161004294
Warranty Period: 5 Years
Product Category 4WD Parts and Extras
Videos
Oricom UHF028 Compact 5 watt UHF CB Radio
Customer Reviews
Product Q&A
-
Is this radio suitable for use outside of Australia?
All Oricom products are approved for use in Australia and NZ only, and although they will still work in other countries, they may not meet that countries requirement’s for voltage, operating frequencies or power RF levels and if used may interfere with other services which could attract penalties from the local administration authorities.
-
What is Instant Scan and how does it work?
During Priority Scan press SCAN button to start instant Scan. Only the 3 channels programmed in the instant channel buttons will be scanned.
-
How do I factory reset the settings on the radio?
If the radio’s display locks up or stops functioning properly, you might need to reset your radio. Caution: This procedure clears all the information you have stored in your radio. Before resetting your radio, try turning it off and on again. If your radio is still not functioning correctly it may need to be reset to its default settings. While holding the Channel up button, Turn the radio on, only LCD backlight will be on for 1 to 2 seconds. The radio will then return to its original factory out condition.
-
How do I select a channel?
Press the up or down keys to step upwards or step downwards one or more channels.
-
How do I turn the power on/off?
Rotate the power switch in a clockwise direction to turn the unit ON, adjust the volume to a comfortable level. Rotate the Power Switch counter clockwise until it clicks to turn off the power.
-
What is the Scan function and how does it work?
The radio SCAN function has the ability allow channels to be scanned for activity. Channels can be scanned at a rate of 40 channels per 7 seconds. When a signal is found scanning will stop at that channel to allow the signal to be heard, then resume scanning when the channel is clear again.
-
How do you store a priority channel?
To store a Priority Channel, Press and hold PRI button. The letters “PRI” will appear when the priority channel is set. The channel you selected as your Priority channel will then be automatically monitored during the Priority Scan. Note: You can only store one channel as your priority channel. Storing a new PRI channel will overwrite the existing selection. To store a Priority Channel:
1. Select the required channel.
2. Press and hold the PRI button until a beep is heard. The letters “PRI” appear when the priority channel is set.
-
What radio install options do I have?
- Radio stays ON when the ignition is switched OFF. Connect the radio’s negative (black) lead to the vehicle chassis, or directly to the batteries negative terminal. Connect the radio’s positive (red) lead via the 2 Amp fuse to the battery’s positive terminal. Alternatively, the positive lead could be connected at the fuse box at a point that has +13.8 Volts continuously available (preferably the battery side of the ignition switch) via the 2 Amp fuse.
- Radio turns OFF with the ignition switch. Connect the radio’s negative (black) lead to the vehicle’s chassis, or directly to the batteries negative terminal. The radio’s positive (red) lead should connect to an accessory point in the vehicle’s fuse box via the 2 Amp fuse.
Warranty
For details relating to this product's warranty CLICK HERE
Delivery
For details relating to our delivery process CLICK HERE
Best Sellers From This Category:


Take $30 OFF Your Order*
Enter your details below to subscribe to the My Generator newsletter and get your unique promo code.
*$300 minimum spend, single use promo code.